

Uncategorized
Engineering Straw Rockets
In this project we’ll be making a straw rocket. A straw rocket is a model rocket that uses a regular drinking straw as its launch rod, and the power of your own breath to propel it.
Supplies:
-
At least one straw. You’ll only need 1, but having multiple straws means you can launch multiple rockets at once. You can also try different sizes of straws to see if one works better than the others.
-
Tape
-
A pencil
-
Scissors
-
Paper
Step 1: Create Your Body Tube
Draw a rectangle to serve as your body tube. This will make up the bulk of your rocket. The exact dimensions are up to you but know that you’ll wrap around the straw after it’s been cut out. Once you have a rectangle you are happy with, you’ll want to cut it out of the paper. Then you’ll want to wrap the paper around your straw and use a piece of tape to hold it closed. DO NOT TAPE YOUR PAPER TO THE STRAW! We don’t want the paper stuck to the straw; we want a tube that fits AROUND the straw.
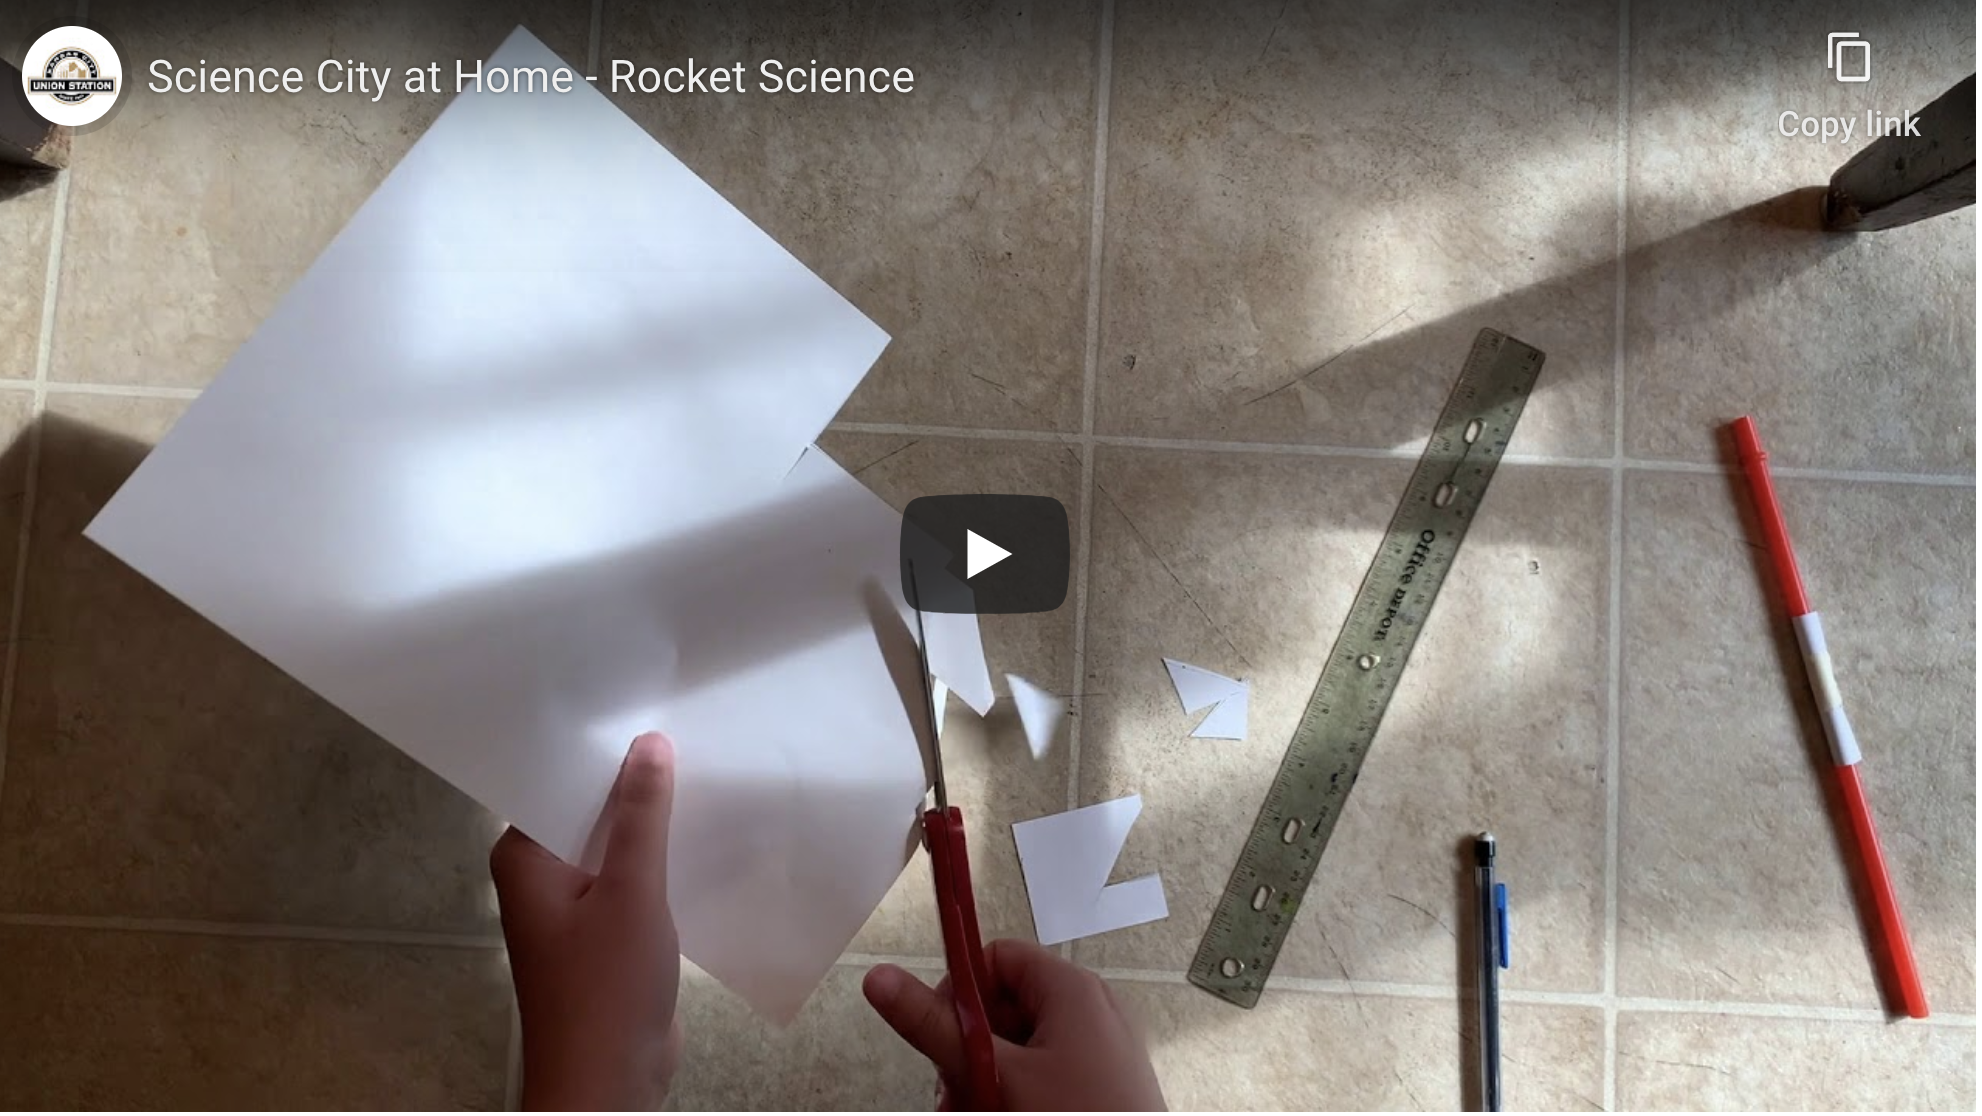
Step 2: Create Your Fins
Fins are an important part of the rocket, as they help hold it steady as it flies through the sky. Because air pushes in all directions at once, it will push on both sides of the fin at the exact same time. This in turn keeps the rocket from spinning or spiraling out of control. The first step in making our fins is to draw 3 triangles on our paper and cut them out. Then you’ll want to fold one edge of the fin. This gives us a surface that we can place tape on, before taping the fin to the rocket. I put tape on both sides of my fins, and spaced the fins around the rocket. We don’t want all the fins on a single side, as makes the rocket too heavy on one side, and also reduces how effective our fins are.
Step 3: Add a Nosecone
The nosecone or a rocket reduces drag. Drag is caused when air molecules hit a surface in flight. Because of the nosecones shape, the air is able to flow around it easier. If we just had a flat end to our rocket, the drag would be higher and our rocket wouldn’t fly as far. To make our nosecone, we wan to cut a semi-circle out of paper, and then roll it to get a cone shape. Tape it together, and then tape it to the rocket.
Step 4: Launch Your Rocket
All that’s left now is to blow in the straw and see how far your rocket can go. You can make multiple rockets that are different sizes and see if one works better than the others.